Installation
Docusaurus was designed from the ground up to be easily installed and used to get your website up and running quickly.
Installing Docusaurus#
We have created an easy script that will get all of the infrastructure set up for you:
Ensure you have the latest version of Node installed. We also recommend you install Yarn as well.
You have to be on Node >= 8.x and Yarn >= 1.5.
Create a project, if none exists, and change your directory to this project's root.
You will be creating the docs in this directory. The root directory may contain other files. The Docusaurus installation script will create two new directories:
docsandwebsite.Commonly, either an existing or newly created GitHub project will be the location for your Docusaurus site, but that is not mandatory to use Docusaurus.
Run the Docusaurus installation script:
npx docusaurus-init.If you don't have Node 8.2+ or if you prefer to install Docusaurus globally, run
yarn global add docusaurus-initornpm install --global docusaurus-init. After that, rundocusaurus-init.
Verifying Installation#
Along with previously existing files and directories, your root directory will now contain a structure similar to:
Running the example website#
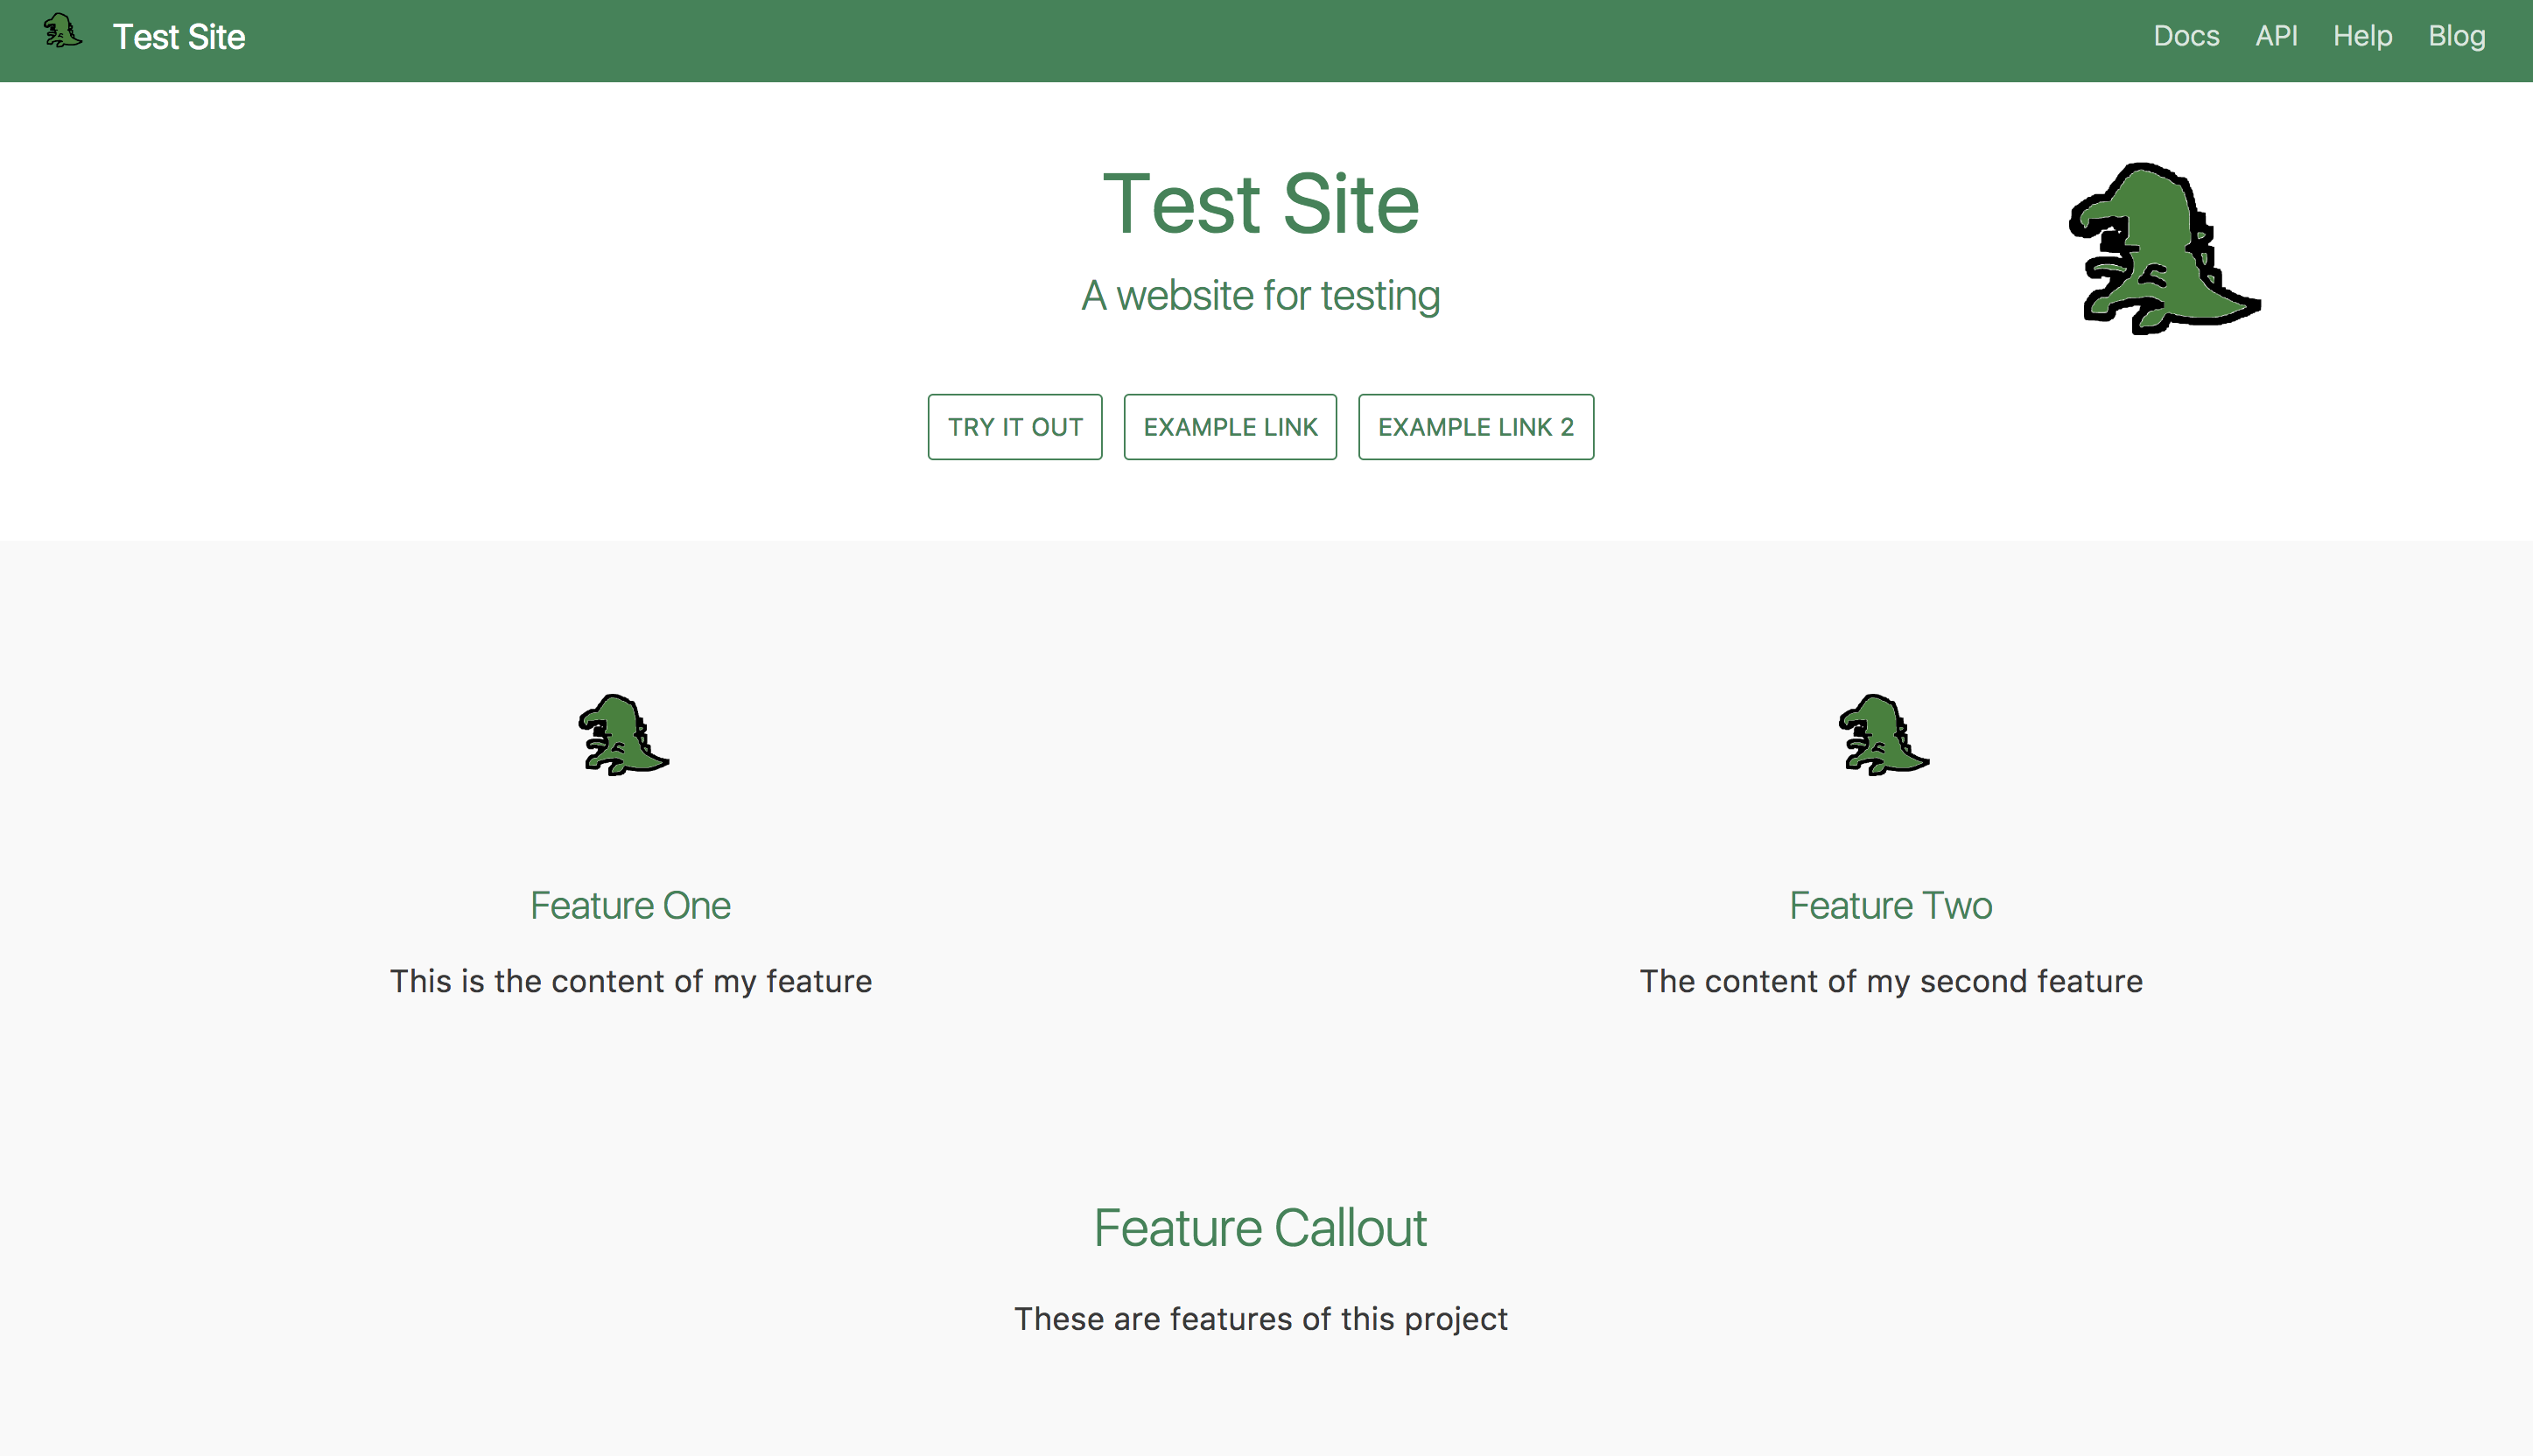
After running the Docusaurus initialization script, docusaurus-init as described in the Installation section, you will have a runnable, example website to use as your site's base. To run:
cd websiteFrom within the
websitedirectory, run the local web server usingyarn startornpm start.Load the example site at http://localhost:3000 if it did not already open automatically. If port 3000 has already been taken, another port will be used. Look at the console messages to see which.
You should see the example site loaded in your web browser. There's also a LiveReload server running and any changes made to the docs and files in the
websitedirectory will cause the page to refresh. A randomly generated primary and secondary theme color will be picked for you.

Launching the server behind a proxy#
If you are behind a corporate proxy, you need to disable it for the development server requests. It can be done using the NO_PROXY environment variable.
Updating Your Docusaurus Version#
At any time after Docusaurus is installed, you can check your current version of Docusaurus by going into the website directory and typing yarn outdated docusaurus or npm outdated docusaurus.
You will see something like this:
If there is no noticeable version output from the
outdatedcommands, then you are up-to-date.
You can update to the latest version of Docusaurus by:
or
If you are finding that you are getting errors after your upgrade, try to either clear your Babel cache (usually it's in a temporary directory or run the Docusaurus server (e.g.,
yarn start) with theBABEL_DISABLE_CACHE=1environment configuration.